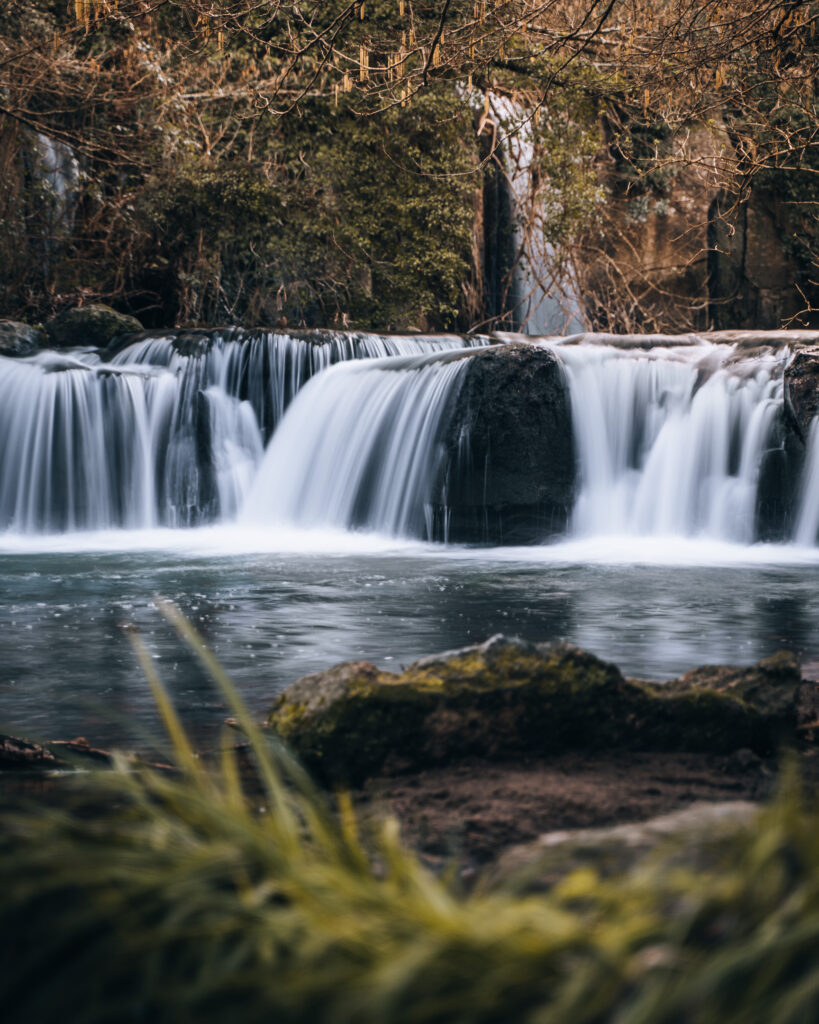
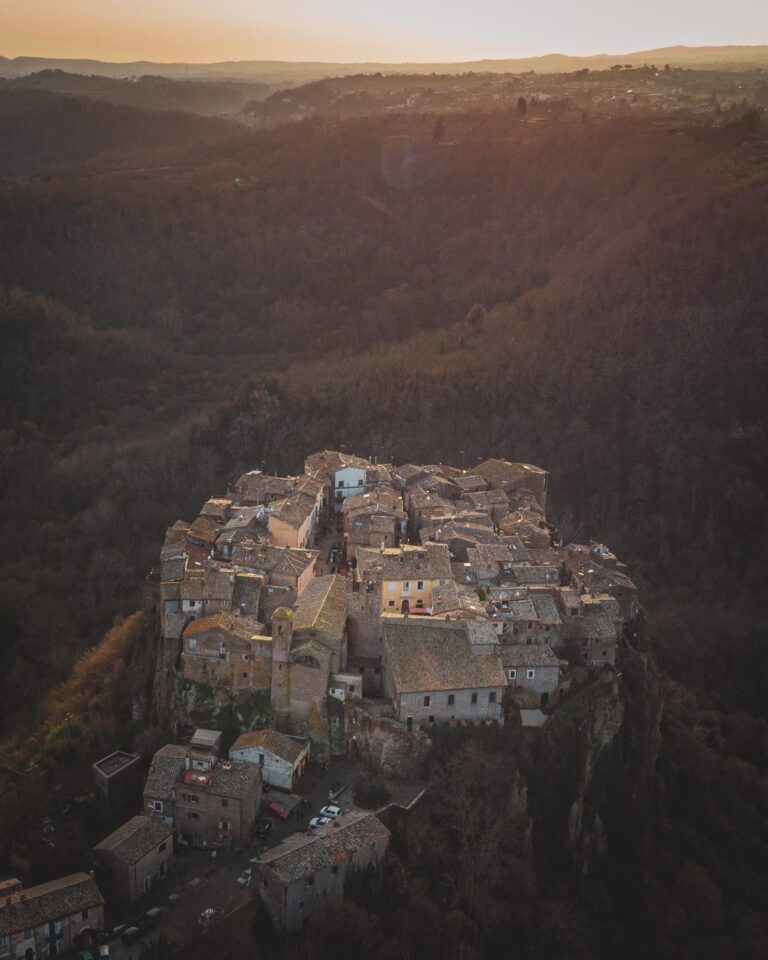
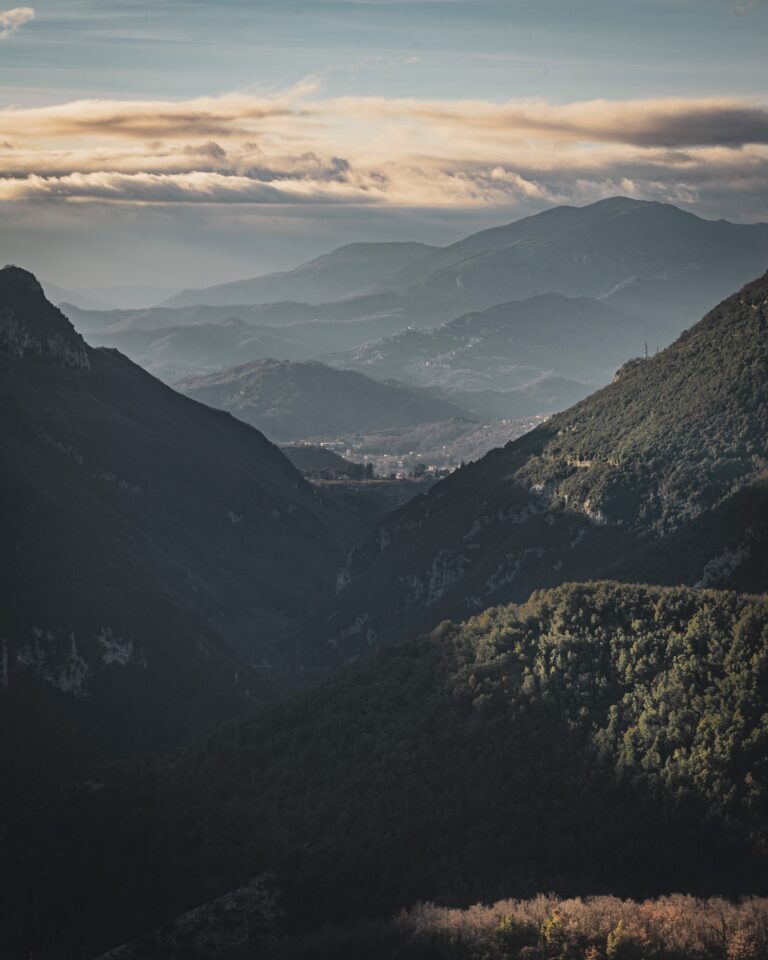
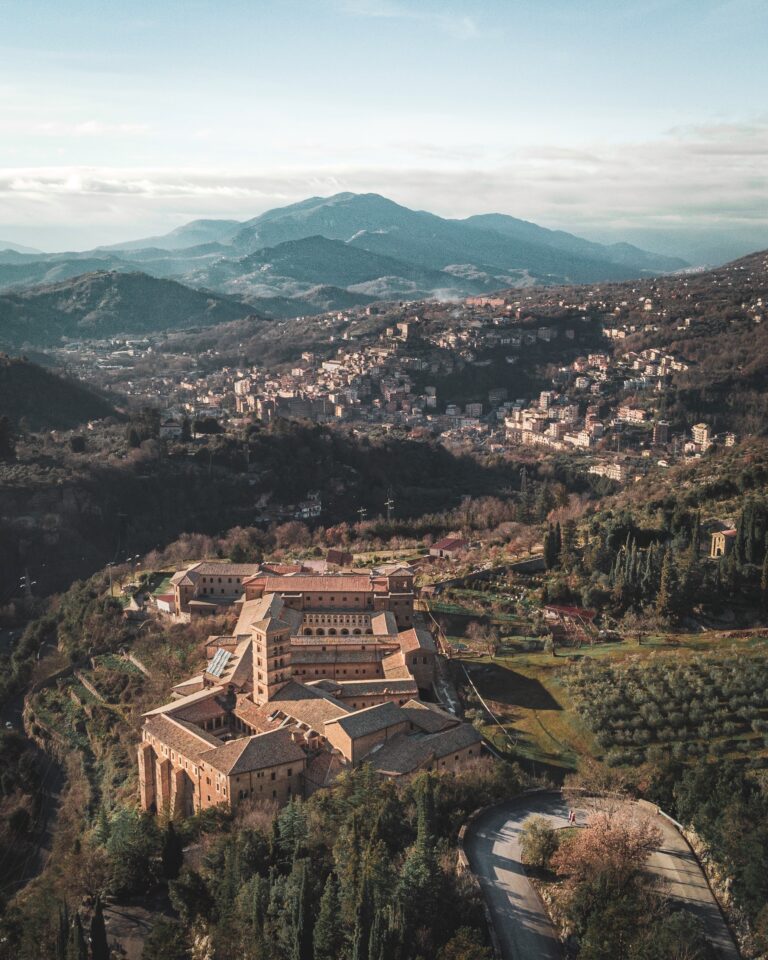
In this article, you will learn how to photograph waterfalls with your camera by following 3 simple steps. Among landscape photography, waterfalls are one of the most stunning natural elements to capture. This is due to the motion of the water and its resulting silky effect. By applying these principles, you will be able to shoot stunning photos not only of waterfalls but also of water streams, river and water in motion in general.
How to photograph waterfalls with your camera
1. Prepare your gear
The essential gear to take waterfall photos with a camera is, of course, a camera. Regardless if that is a mirrorless or a DSLR body, all you really need is the capability of manual setting the shutter speed.
On top of the camera, the easiest way to obtain a sharp and clean shot is using a stable tripod. This is because you will work with long shutter speed and to capture a decent shot with your camera hand-held is very difficult.
Lastly, depending on the light condition, you might need to use a neutral density filter or ND filter. In fact, in very bright day conditions, you might still get too much light through your lens which will result in an overexposed photo. Therefore, if you already decreased your ISO at the minimum and increased your f/stop to the maximum to reduce the incoming light, the only way is to use a ND filter in front of your lens. This will stop a portion of light and will allow you to properly expose your shot.
2. Find an interesting composition
Waterfall photography does not differ compositionally from any other landscape type of photography. Then usual rules and tips apply. For instance, you can try to
- Play with foreground and background to add depth and colour;
- Use rocks or interesting ground patterns at the bottom of the frame;
- Use natural elements to frame your photo;
- Keep in mind the rule of thirds (also with respect to the horizon position);
- Find guiding lines to drive the eyes towards the subject (in this case the waterfall);
- Add people or animals to the photo (particularly with big waterfalls that gives a nice sense of dimension when comparing the size of a person).
3. Choose the right settings
The key setting to obtain the silky water effect that makes waterfall photography cinematic is a slow shutter speed. In fact, by keeping the shutter open, you will get the smoothness and the blurriness of the motion, which will make your photo stunning. On the other hand, fast shutter speed will result in an ordinary photo where the motion of water is frozen.
How long should the shutter be open then?
Every waterfall is different, but a good rule of thumb is to start with 0.5 seconds and check the result on your LCD screen. If you are a beginner and your camera allows that, I advise you to set your camera on ‘shutter speed priority’. In this way, aperture and ISO will adjust automatically to realize that specific shutter speed and still get a shot with the right exposure. Of course the slowest shutter speed limit depends on the brightness of the subject you are trying to capture. That is why in very bright days you might need to use an ND filter, as mentioned in step 1.

Summary
To summarize, there are 3 simple steps to photograph waterfalls with your camera.
- Prepare your gear
You will need: a camera with manual settings, a stable tripod and optionally a neutral density filter or ND filter (only needed in very bright light conditions).
- Find an interesting composition
Waterfall photography does not differ compositionally from any other landscape type of photography. Therefore, you can try: playing with foreground and background, using the rule of thirds, finding guiding lines, using rocks or ground patterns in the foreground, using natural elements to frame your picture, and so on.
- Choose the right settings
The key setting to obtain the silky water effect that makes waterfall photography cinematic is a slow shutter speed. A good rule of thumb is to start with 0.5 seconds and check the result on your LCD screen. If you are a beginner and your camera allows that, I advise you to set your camera on ‘shutter speed priority’. When it is very bright you might need to use an ND filter.
Feel free to have a look at some examples of waterfall shots in my portfolio or in my Instagram profile and drop a comment below if you have further questions. Have fun in chasing waterfalls!
Related posts
- What does a neutral density filter do?
Are you asking yourself ‘what does a neutral density filter or ND filter do’ and you want to enlarge your photography skills? Then by the end of this article you... - The 10 best places to visit in Rome as a photographer
Rome is with no doubts one of the most beautiful cities of the world. In fact, I will never get tired of getting lost in its narrow streets and still...

